

Database Setup
Create a Redis database using Upstash Console or Upstash CLI.Project Setup
We will use C3 (create-cloudflare-cli) command-line tool to create our application. You can open a new terminal window and run C3 using the prompt below.The Code
Here is a Worker template to configure and test Upstash Redis connection.Configure Credentials
There are two methods for setting up the credentials for Redis. One for worker level, the other for account level.Using Cloudflare Secrets (Worker Level Secrets)
This is the common way of creating secrets for your worker, see Workers Secrets The recommended method is the Wrangler CLI, since secrets added this way persist across deployments. Navigate to Upstash Console, get your Redis credentials and run in your project directory:- Navigate to Upstash Console and get your Redis credentials.
- In Cloudflare Dashboard, Go to Compute (Workers) > Workers & Pages.
- Select your worker and go to Settings > Variables and Secrets.
- Add your Redis credentials as secrets here:
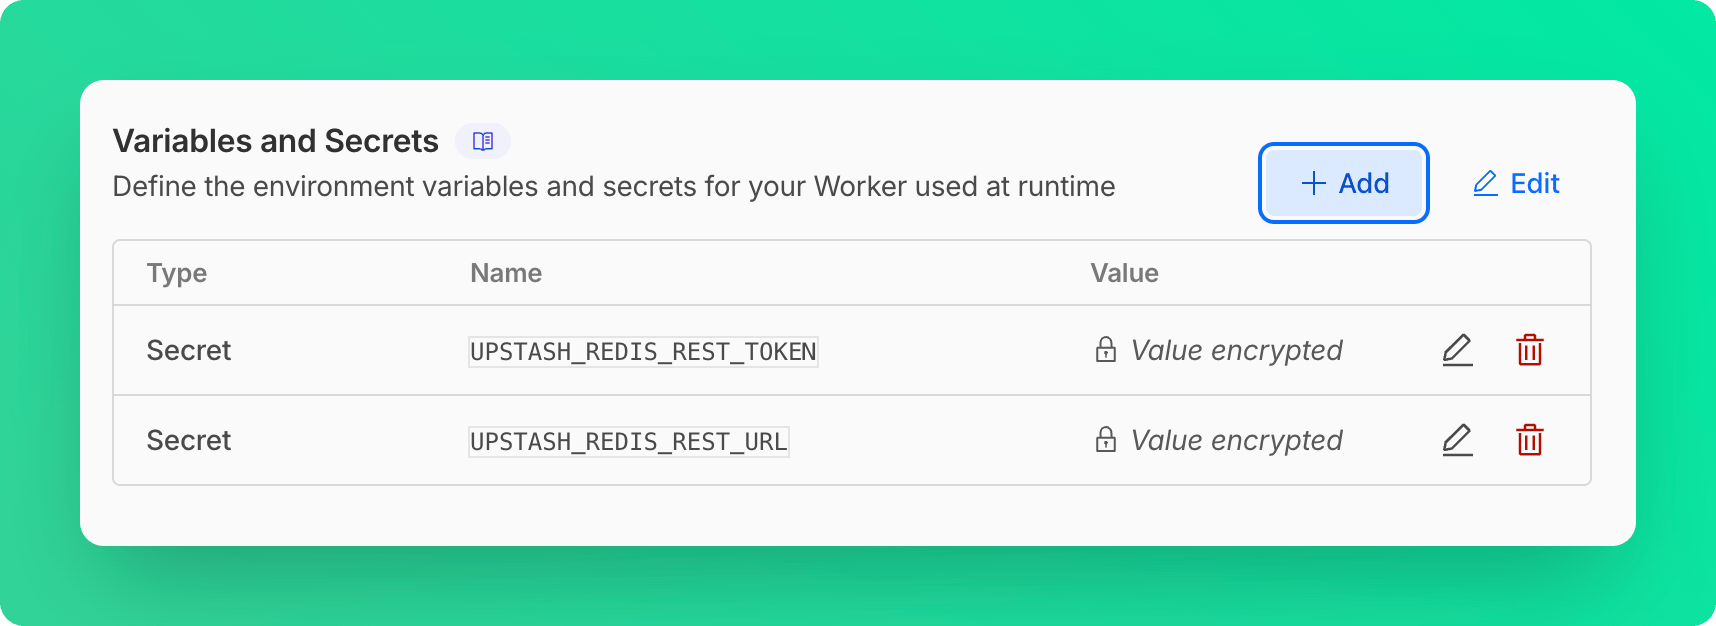
Using Cloudflare Secrets Store (Account Level Secrets)
This method requires a few modifications in the worker code, see Access to Secret on Env Objectsrc/index.ts
npx wrangler deploy, and
follow the steps below to define the secrets:
- Navigate to Upstash Console and get your Redis credentials.
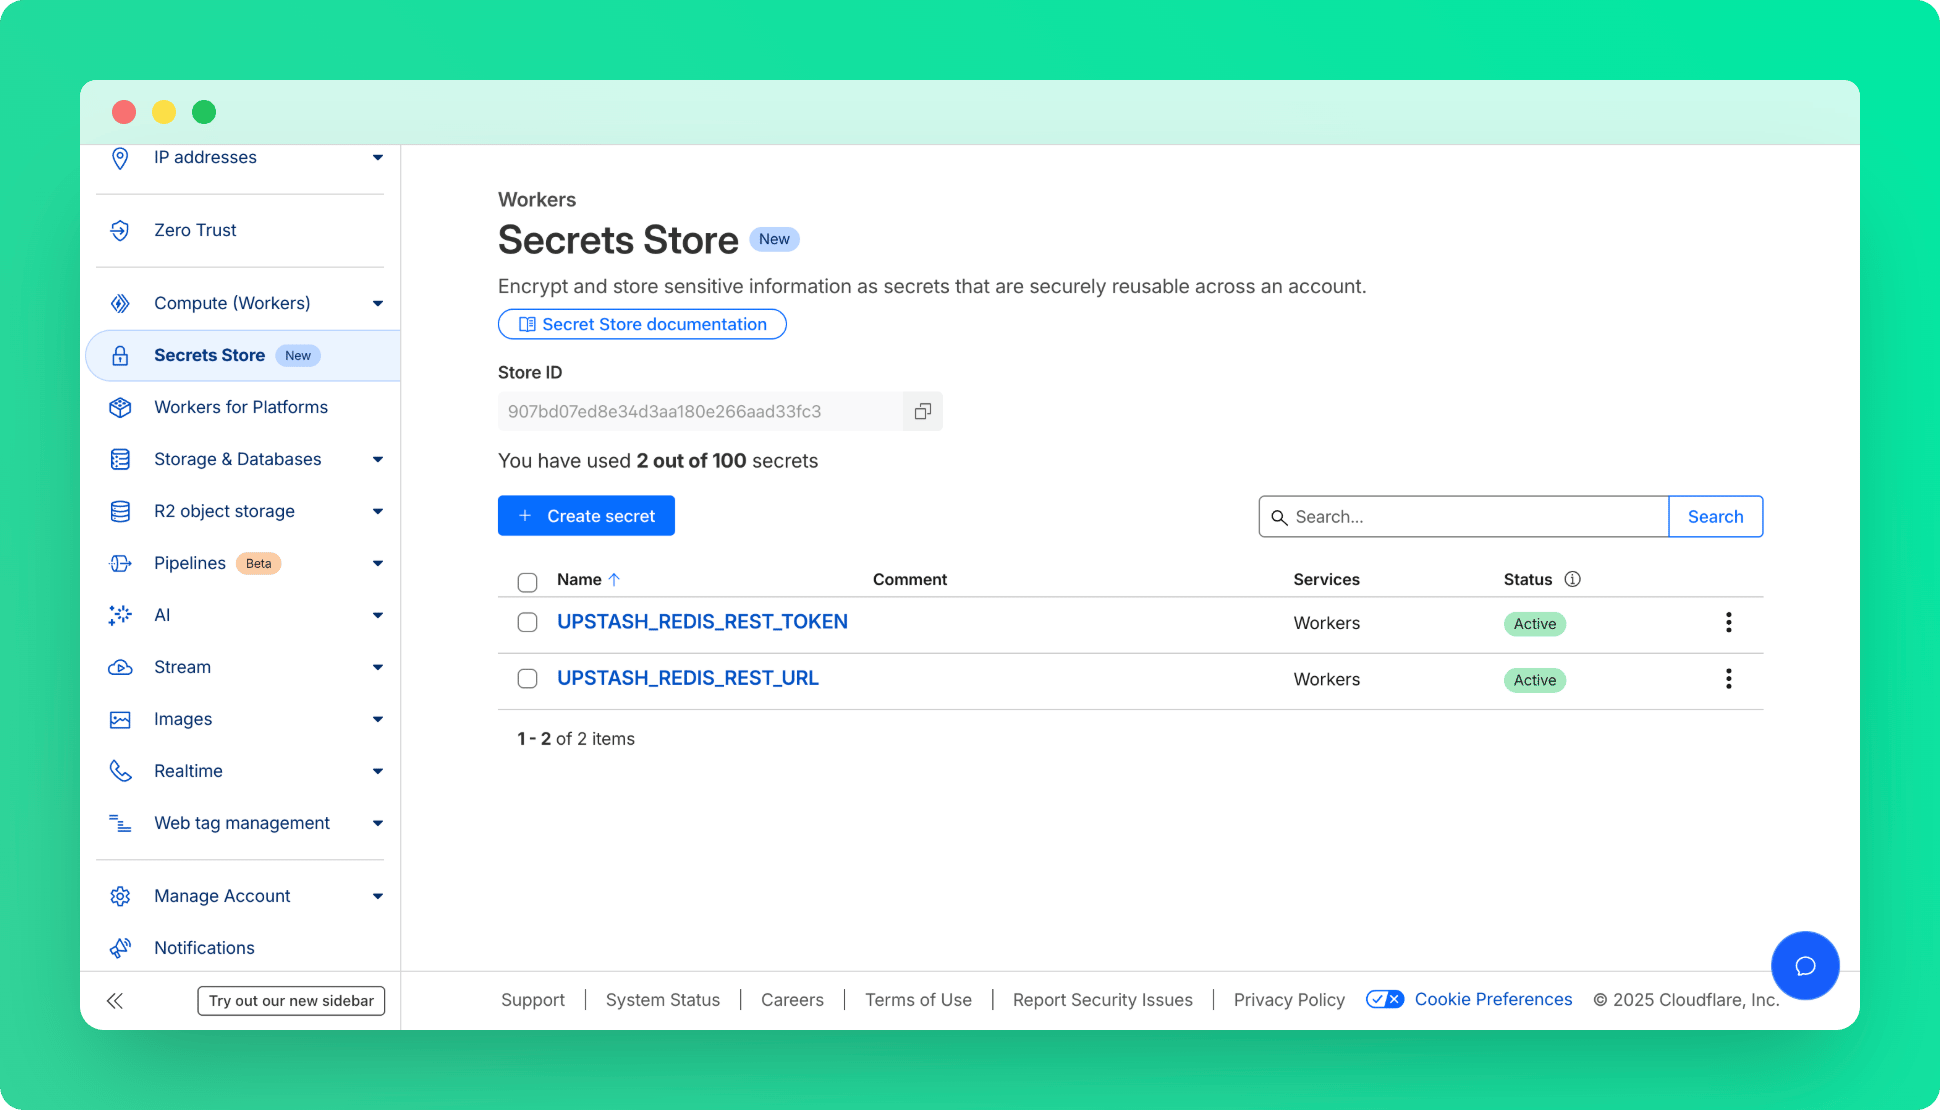
- In Cloudflare Dashboard, Go to Secrets Store and add Redis credentials as secrets.
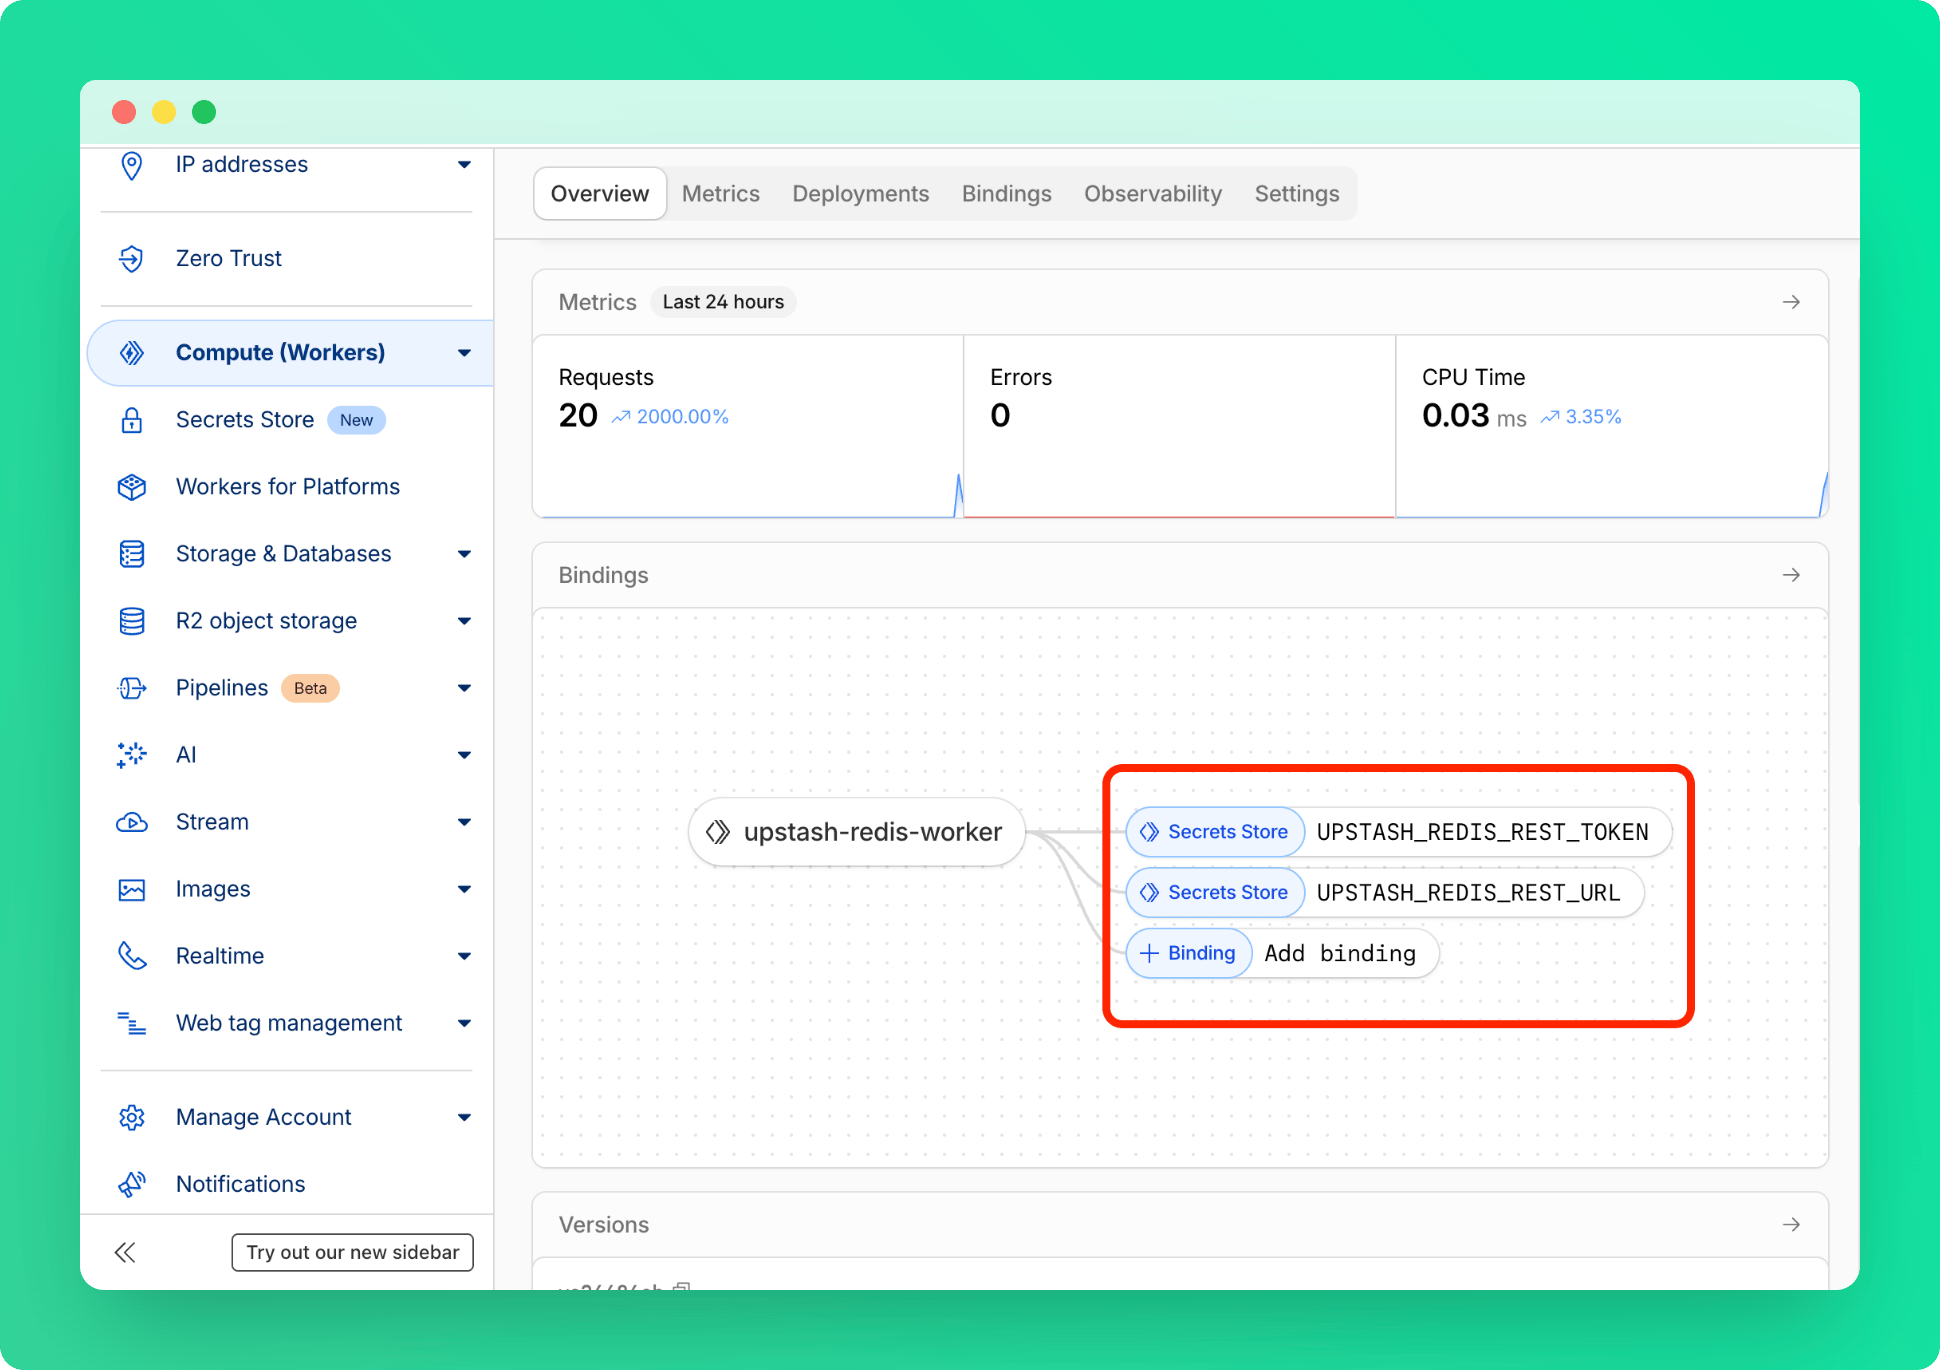
- Under Compute (Workers) > Workers & Pages, find your worker and add these secrets as bindings.
Deployment
Newer deployments may revert the configurations you did in the dashboard.
While worker level secrets persist, the bindings will be gone!
npx wrangler deploy
The endpoint of the function will be provided to you, once the deployment is done.
Testing
Open a different terminal and test the endpoint. Note the destination url is the same that was printed in the previous deploy step.{"count":20}
In the logs you should see something like this: